o
p
t
i
m
a
r
o
b
o
t
i
c
s

Make a Call


Make a Call
Blogs
How to Install a Trailer Wiring Harness Properly?
Installing a Trailer wiring harness is more than matching colored wires. It creates the electrical link between a towing vehicle and its trailer lights, brakes, and auxiliary circuits. A loose ground can leave the lamps dark. A reversed turn signal can confuse drivers behind you. Small mistakes become serious at night, in rain, or during sudden braking.
Industry standards provide a reliable starting point. SAE J560 defines the functions and terminal layout of common seven-way trailer connectors in North America. ISO 1724 provides a related seven-pin reference for many international applications. NHTSA safety guidance also emphasizes visible brake lamps, turn signals, and rear lighting for safer trailer operation. These sources do not replace the vehicle manufacturer’s wiring diagram. They help prevent guesswork.
This guide explains how to choose, route, test, and secure a Trailer wiring harness properly. You will see practical details, including waterproof connectors, heat-shrink tubing, fuse protection, and frame-safe cable routing. A multimeter matters. So does patience. Many installations fail because the installer trusts wire color alone or skips the final load test. That is a weakness worth admitting. Vehicle wiring systems vary, and some newer models require a powered converter or electronic module. Confirm the vehicle’s specifications before cutting anything. Then test each function with a second person watching the trailer lamps. A clean installation should survive vibration, spray, and repeated hitching without exposed copper or dangling wires. Safety is not achieved by appearance. It is verified at the connector, the lights, and the road-ready trailer.
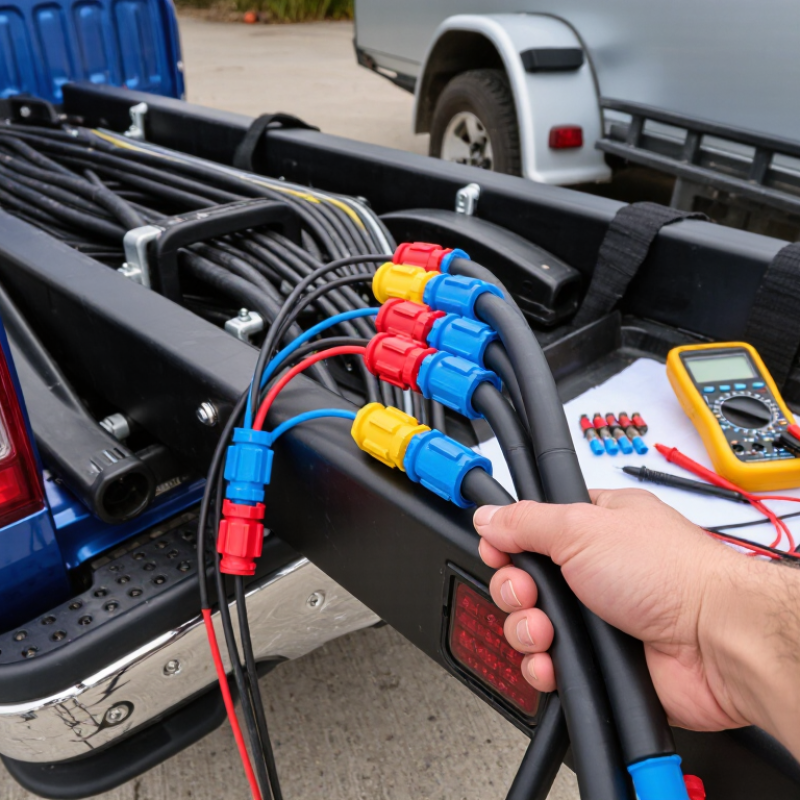
Table of Contents [Hide]
Identify the Trailer Wiring System and Gather the Required Tools
Before installing a trailer wiring harness, identify the trailer’s wiring system. Count the connector contacts and inspect the socket shape. A flat four-way plug usually carries ground, tail lamps, left turn, and right turn signals. A seven-way connector adds circuits for electric brakes, battery charging, and auxiliary power. SAE J560 defines the common seven-contact arrangement used on many heavy-duty trailers, but color codes can vary. Never trust color alone.
Bring a digital multimeter, circuit tester, wire stripper, crimping tool, heat-shrink tubing, electrical tape, cable ties, and a small wire brush. A wiring diagram is essential. NHTSA’s Traffic Safety Facts publications consistently identify lighting and signaling as important crash-avoidance controls. That supports careful testing, not guesswork. Check the vehicle socket first. Measure ground continuity, then test each circuit with the vehicle lights and indicators activated. Keep the connector dry.
Look closely at the trailer’s frame and junction box. Rust can create resistance. Poor grounding is common. I once found a clean-looking wire with corrosion hidden beneath its insulation. It passed a quick visual check but failed under load. That mistake changed my process. Test every circuit twice, including the brake controller line if equipped. SAE J1128 guidance also distinguishes automotive wire constructions by insulation and temperature performance. Use suitable cable, protect exposed connections, and leave enough slack near the coupler for turning movement. Do not seal a connection before testing it.
Brands
Proudly Trusted by Top Suppliers Worldwide







Let us know and we will automate, together to fit your industrial needs.
 +91-97254 16844
Clients
Proudly Trusted by Top Companies Worldwide


Do you need Help? Get in touch.
X
Please fill out the form below and we will get back to you as soon as possible.